How to grow tomatoes?
Step by step: Growing tomatoes in 12 steps!
Growing tomatoes in steps
I have been growing my own tomatoes with passion for years.
In this blog I will explain to you in 12 steps how to
tomato cultivation
in your backyard, on your balcony or in the allotment garden a great success.
At each step you will find a link to an extensive blog article on that topic.
1. Choosing the Right Tomato Variety
Successful tomato cultivation starts with choosing the right variety. Your ideal tomato variety depends on the growing location and cultivation method:
In the greenhouse:
Almost all tomato varieties grow well here; you can choose any variety. 😀
Outside in the open ground:
Choose early tomato varieties (harvestable within 68 days) or Phytophthora-resistant tomato varieties such as:
Sweet Survivor,Rondobella,The Barao.
On the balcony or in pots:
Use compact bush tomatoes or dwarf vine tomatoes.
My tip:
Experiment with a few new varieties each year to build your own favorites list!
2. The best time to sow
Tomatoes need time. That's why we're starting indoors by sowing them on the windowsill. The timing of tomato seeds
sowing depends on where the tomato plant will eventually be placed:
Read more:
When to sow tomatoes?
Sowing for greenhouse:
February 14 – end of March
Planting out in a greenhouse:
From April 14th
Sowing for outdoors:
March 14 – end of March
Planting out in a greenhouse:
From May 14 (after the Ice Saints)
3. Sowing Tomatoes
1.
Fill a seed tray or container with good seed compost, smooth it out and press it lightly.
4.
Water gently (with a plant sprayer or small watering can) so that the seeds don't wash away.
5.
Cover the container with cling film (prick a few holes in it) and place it in a warm place (20°C to 25°C).
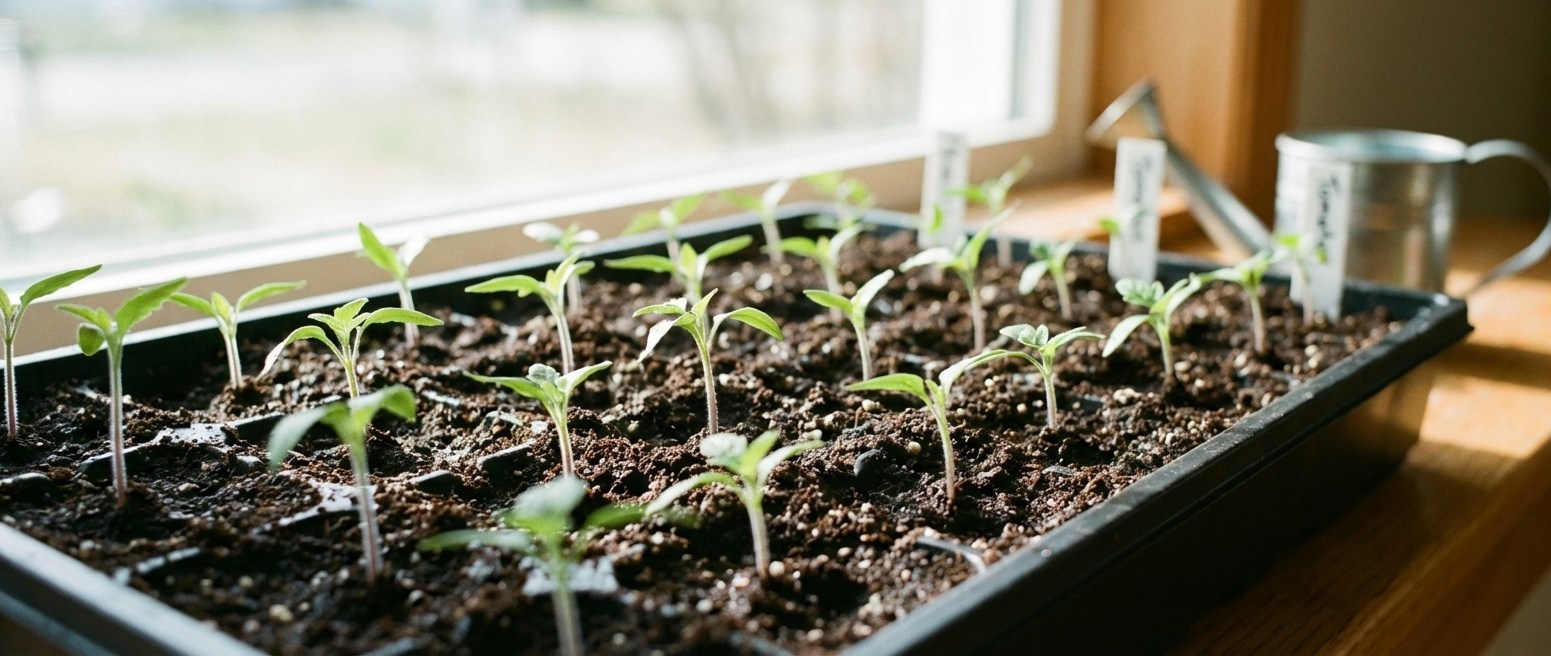
4. Growing young tomato plants
As soon as the first leaves appear, the foil can be removed. Move the young tomato plants
Move them to a bright, cool spot (16°C) where possible. This prevents them from becoming "thin" (long and thin).
Weaning:
As soon as the young tomato plants crowd each other, move them to pots of at least 12 cm, with drainage holes.
Care:
Allow the soil of the young, potted tomato plants to dry out thoroughly between waterings and give water with each watering.
plant food
go with the water.
Support:
When the tomato plants are 15 cm high, use a
bamboo stick
and a
clip
for support.
Hardening:
Let the plants acclimatise to the daytime temperatures outside for a week before you finally plant them out.
Read more:
How to grow young tomato plants?
5. Fertilizing tomatoes
Tomato plants are heavy users of nutrients. Preferably choose organic plant food
instead of artificial fertilizer. This is better for the environment and makes the fruits much more flavorful.
Basic fertilization:
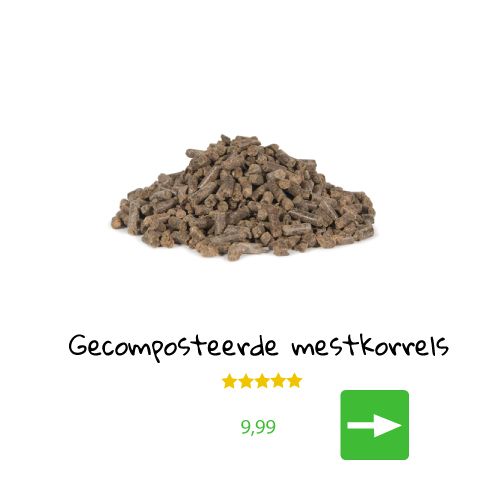
Composted manure pellets
are a good basic fertilizer for vegetable plants
such as tomato plants, cucumber plants, eggplant plants, pepper plants and zucchini plants.
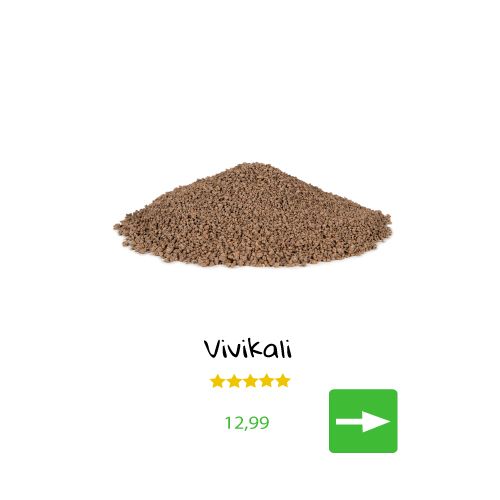
Application:When planting, I dig large planting holes. I add 300 grams of composted manure pellets(about 6 handfuls) and 100 grams Vivikali(about two handfuls). Then I plant the young tomato plants on top of the organic fertilizer in the planting holes. The nutrients are gradually released to the tomato plants over the course of the season.
This basic fertilizer is sufficient for a healthy growing season and delicious fruits. 😋
Read more:
How to fertilize tomatoes?
6. The ideal planting location
Tomatoes love sun, warmth, and preferably dry leaves. Keep this in mind when choosing a spot for your tomato plants.
In the greenhouse:
Ideal for warm, dry conditions, but ensure good ventilation. In extreme heat, you can whitewash the greenhouse to prevent sunburn and excessive temperatures.
Outside:
Choose the sunniest, warmest spot out of the wind, preferably under a sheltered area.
Also read:
How to grow tomatoes outdoors?
The ideal planting location
Distance:
Keep a distance of 50 cm between the tomato plants. Water generously immediately after planting to ensure the soil settles well around the roots.
My tip:
Plant them deep! Tomato plants have a unique ability: they can develop roots along the entire stem. When you place the plant in the hole, feel free to bury it all the way to the first true leaves. The plant will develop additional roots on the buried part.
Also read:
7. How do you water tomatoes?
The golden rule: Water at the roots, never on the leaves.
Wet leaves increase the risk of mold such as Phytophthora (potato blight).
Time:
Water in the morning so the plant has moisture to cool it down all day long.
Dosage:
Give newly planted
Young tomato plants
Provide plenty of water to establish the plants. Reduce this after two weeks. In practice, tomato plants are more likely to suffer from too much water than from too little. By limiting watering, you'll get sweeter tomatoes.
NB:
Plants in pots do need water daily.
My tip:
Tomato plants that have poor roots due to poor soil structure or if a tomato variety is sensitive to this, can
nose rot
develop. This is often due to problems with calcium absorption. A little
seaweed lime
Sprinkling it in the planting hole before planting can help prevent or reduce this.
Read more:
How to water tomatoes?
8. Tying up tomato plants
If you do nothing, a tomato plant will crawl across the ground. This creates a confusing tangle of leaves, small fruits, and a much greater risk of fungi such as Phytophthora.
Why tie up?
It saves a tremendous amount of space, the leaves dry faster after rain, and the top of the plant receives maximum sunlight. This results in a higher yield and sweeter tomatoes.
To keep your tomato plants healthy and productive, you can choose from three proven tying methods:
Along a stick:
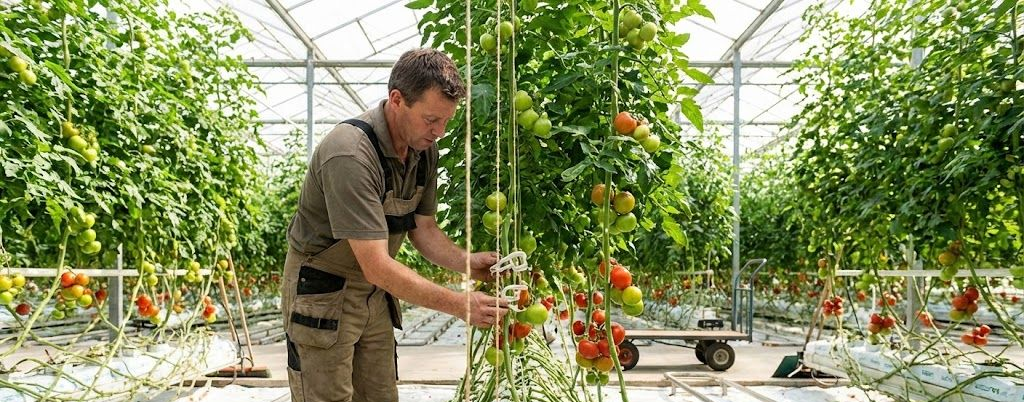
The most popular method for hobby gardens. Use sturdy bamboo or willow stakes of 2 to 2.5 meters. Drive them deep into the ground and tie the main stem under each new bunch with jute twine or a handy rope. tomato clip.
Along a rope:
Ideal if you have many plants (more than 20) or are growing in a greenhouse. Stretch a sturdy wire 2 meters high and hang a rope down from each plant. Instead of tying it, simply wrap the top of the plant around the rope (twist) every week. This is much faster than tying.
High-wire system:
This is the professional method for an extra-long growing season. Using special hooks and extra rope, you can lower the plants and then move them up as they reach the top. This allows a plant to grow up to 10 to 13 meters tall!
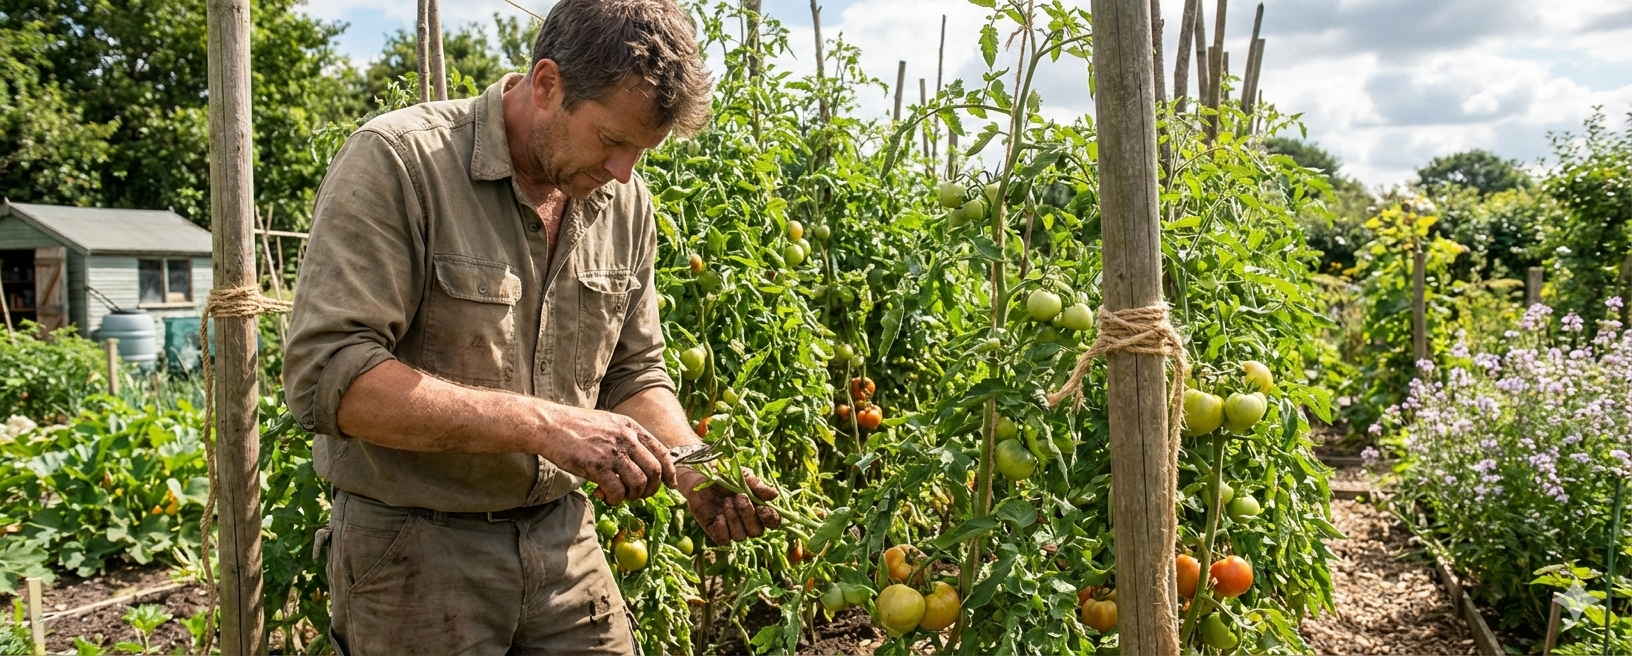
9. Tomato stealing and pruning
"Pickers" is perhaps the most important job during the growing season after tying up tomatoes. A sucker is a side shoot that grows in the
The plant's axil (the point where a leaf attaches to the main stem). If you don't remove these shoots, your plant will turn into an impenetrable jungle of leaves.
Why do you have to thieves?
Energy to the fruit:
The plant puts its energy into making tomatoes instead of extra leaves and stems.
Larger tomatoes:
Without pinching out the side shoots, you'll get lots of small tomatoes; by pinching out the side shoots, you'll get beautiful, large fruits.
Fewer diseases:
A plant that has been harvested is more open, which means the wind will blow the leaves dry more quickly after rain. This reduces the risk of tomato diseases
considerable.
Also read:
How do you prevent Phytophthora?
How do you prune a tomato plant?
Check your tomato plants weekly. Do this preferably on a sunny morning; the shoots are still brittle and break easily. Grasp the sucker between your thumb and index finger and bend it to the side until it breaks off. The smaller the sucker, the smaller the wound and the faster the plant will recover.
Important exception!
Only vine tomatoes need to be plucked. Bush tomatoes
should not be stolen. Pay close attention to what breed you have:
Vine tomatoes:
These grow along a stick or string and must be pinched back into one main stem.
My tip:
With very strong plants you can optionally leave one sucker to grow with a "double head").
Bush tomatoes and dwarf tomatoes:
You don't need to pinch these out. They'll stop growing naturally and need all those side shoots to produce new fruit.
10. Pollination and pruning
For a tomato to grow, the flower must be pollinated.
If this doesn't happen, the tomatoes will remain small. These are called "knots."
Outside:This is caused by the wind and insects and you don't have to do anything.
In the greenhouse:Because there's no wind in a greenhouse, you'll need to lend a hand. Gently tap the flower clusters twice a week around noon to release the pollen.
Bunch pruning:
Bee beefsteak tomatoes
It's wise to prune the trusses to 3 or 4 fruits. This gives the plant the strength to produce truly large, beautiful beefsteak tomatoes.
Also read:
My 5 favorite beefsteak tomatoes
Also read:
How to grow beefsteak tomatoes?
Leaf pruning (leaf picking):
Removing the leaves around a cluster that's just starting to color allows the sun to shine directly on the tomatoes, causing them to turn red (and sweeter!) faster. Make sure the plant has at least eight mature leaves. The leaves are the plant's sugar factories.
Also read:
How do you get tomatoes?
Also read:
How to pick leaves?
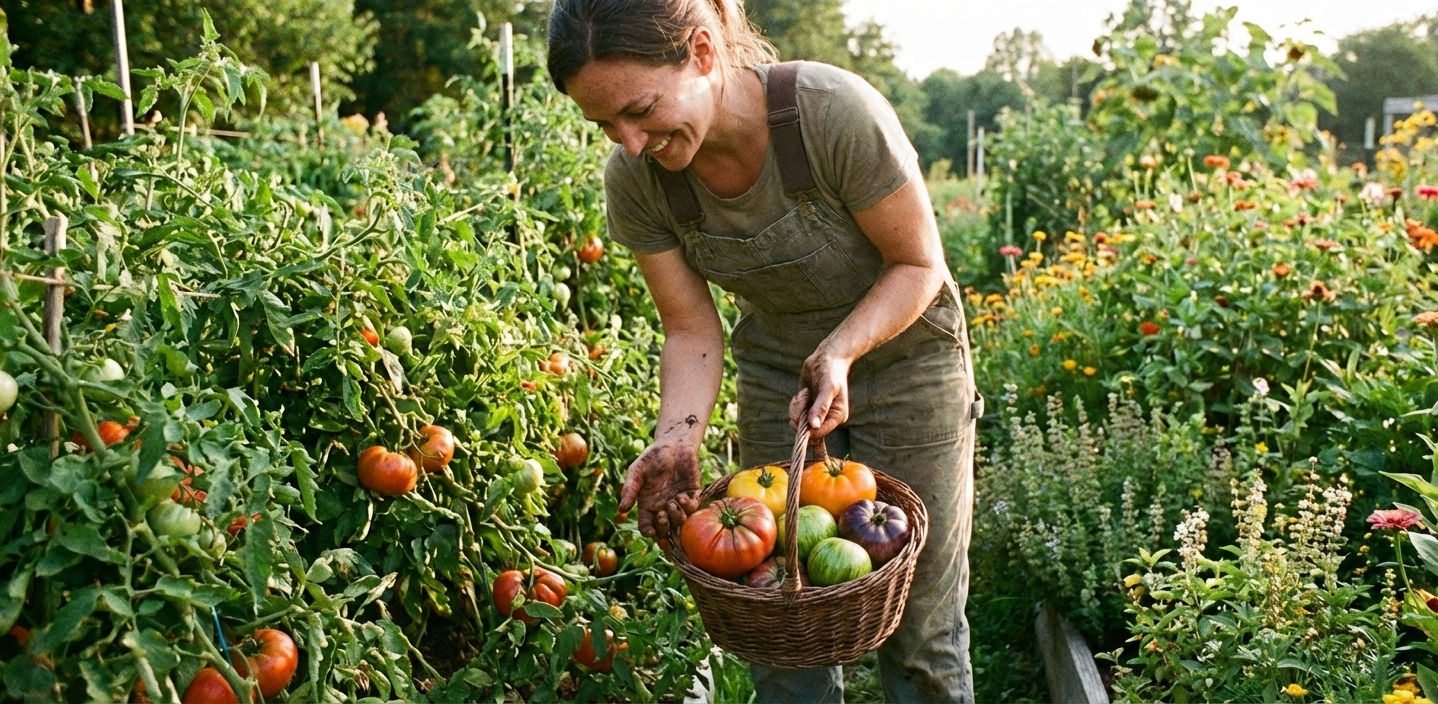
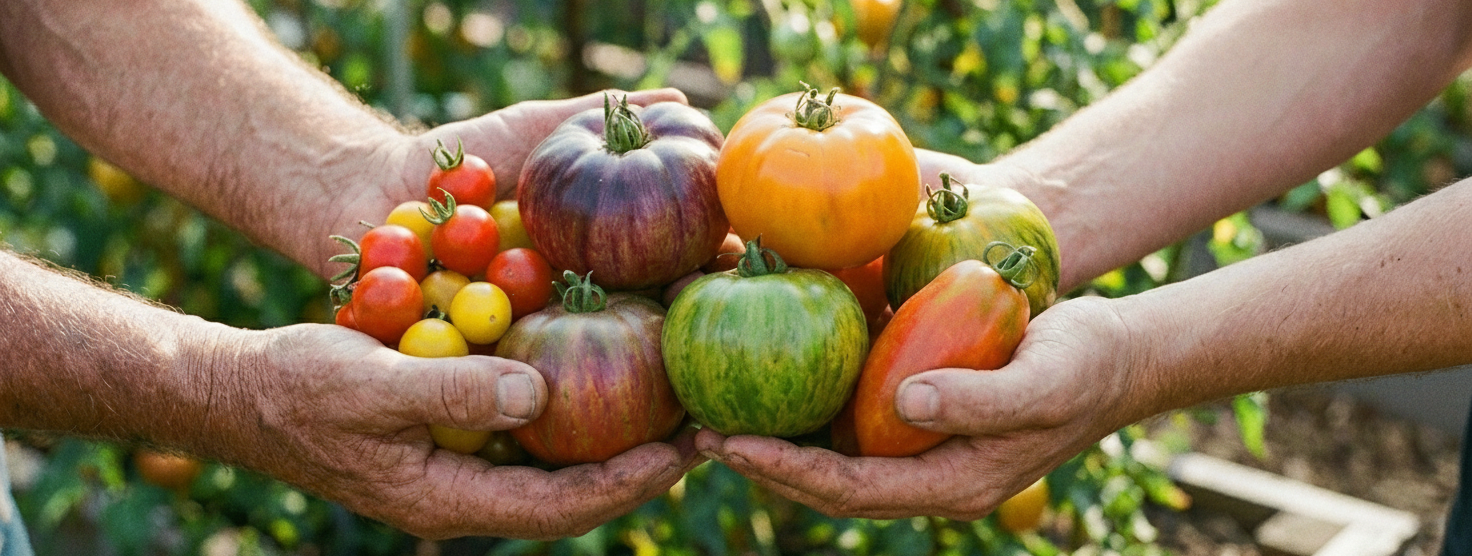
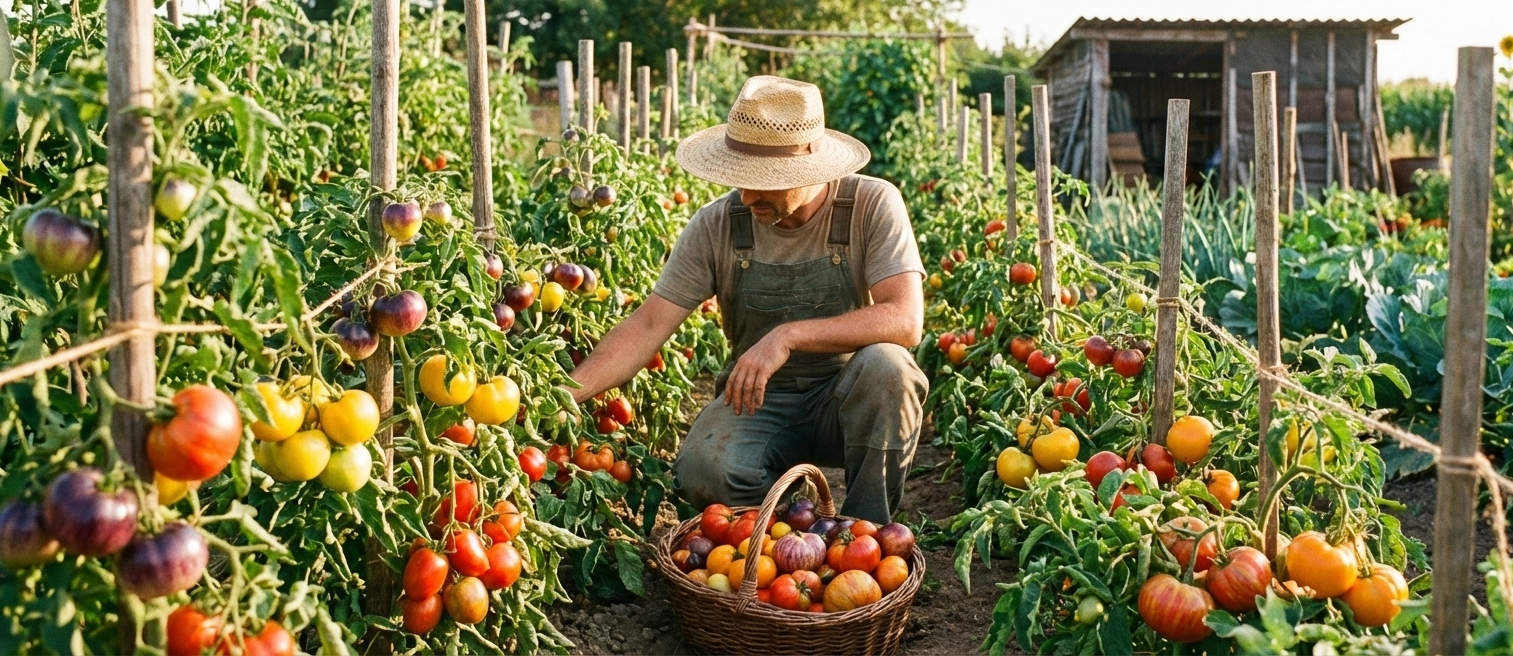
11. How do you harvest tomatoes?
The moment of truth! The first harvest of your tomato plants! You've been working towards this for months. 😃
Tomato picking technique:
Grasp the tomato. Find the bulge (the "bump") on the stem (the crown). Press down on it with your index finger and twist the tomato upward. It will then break off perfectly at the bend, leaving the green crown intact.
My tip:
Never store freshly picked tomatoes in the refrigerator. The cold halts the ripening process and damages the cell structure, causing the tomato to become watery and lose its aroma. Store them in an attractive dish on the counter; this is where the aroma and flavor are best preserved.
Read more:
How to harvest tomatoes?
12. The end of cultivation
All good things must come to an end. Even tomato cultivation, unfortunately. 😢
Headings:
Remove the top (the growing point) from the plant. This will stop the plant from producing new trusses, which will not ripen anyway. All energy will now be diverted to ripening the last tomatoes before the cold, wet autumn begins.
Outside beefsteak tomatoes:
Around the end of July.
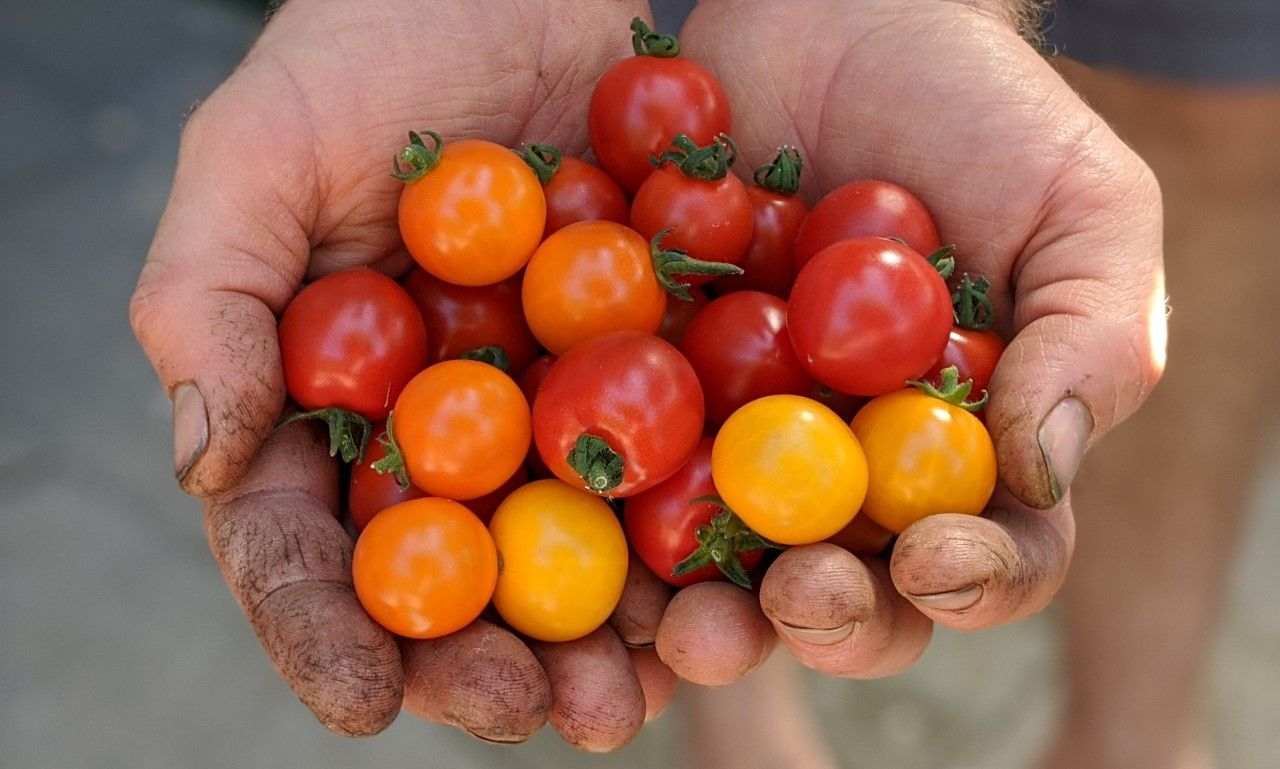
Outside center and cherry tomatoes:
Around mid-August.
In greenhouse beef tomatoes:
Around mid-August.
In greenhouse middle and cherry tomatoes:
Around the end of August.
Read more:
Tips for the end of tomato cultivation


My top 10 tomato varieties
Which tomato varieties are my personal favorites?